Enlarge/ The app lets you invoke ChatGPT from anywhere in the system with a keyboard shortcut, Spotlight-style. (credit: Samuel Axon)
OpenAI's official ChatGPT app for macOS is now available to all users for the first time, provided they're running macOS Sonoma or later.
It was previously being rolled out gradually to paid subscribers to ChatGPT's Plus premium plan.
The ChatGPT Mac app mostly acts as a desktop window version of the web app, allowing you to carry on back-and-forth prompt-and-response conversations. You can select between the GPT-3.5, GPT-4, and GPT-4o models. It also supports the more specialized GPTs available in the web version, including the DALL-E image generator and custom GPTs.
As the Intel Mac era has wound down over the last couple of years, we've been painstakingly tracking the amount of software support that each outgoing model is getting. We did this to establish, with over 20 years' worth of hard data, whether Intel Mac owners were getting short shrift as Apple shifted its focus to Apple Silicon hardware and to software that leveraged Apple Silicon-exclusive capabilities.
So far, we've found that owners of Intel Macs made in the mid-to-late 2010s are definitely getting fewer major macOS updates and fewer years' worth of security updates than owners of Intel Macs made in the late 2000s and early 2010s but that these systems are still getting more generous support than old PowerPC Macs did after Apple switched to Intel's processors.
The good news with the macOS 15 Sequoia release is that Apple is dropping very few Intel Mac models this year, a much-needed pause that slows the steady acceleration of support-dropping we've seen over the last few macOS releases.
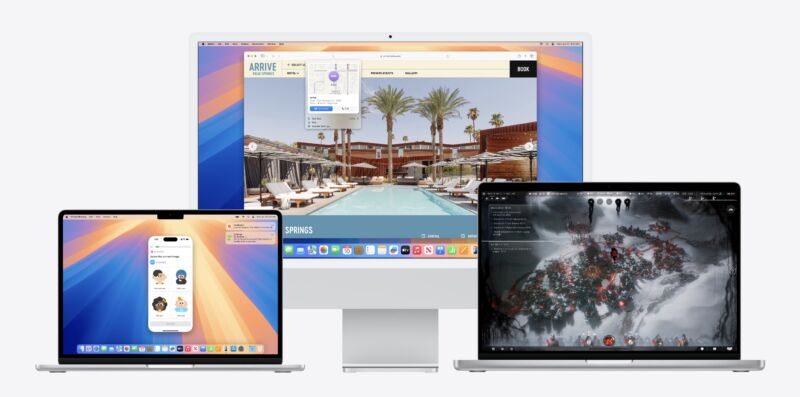
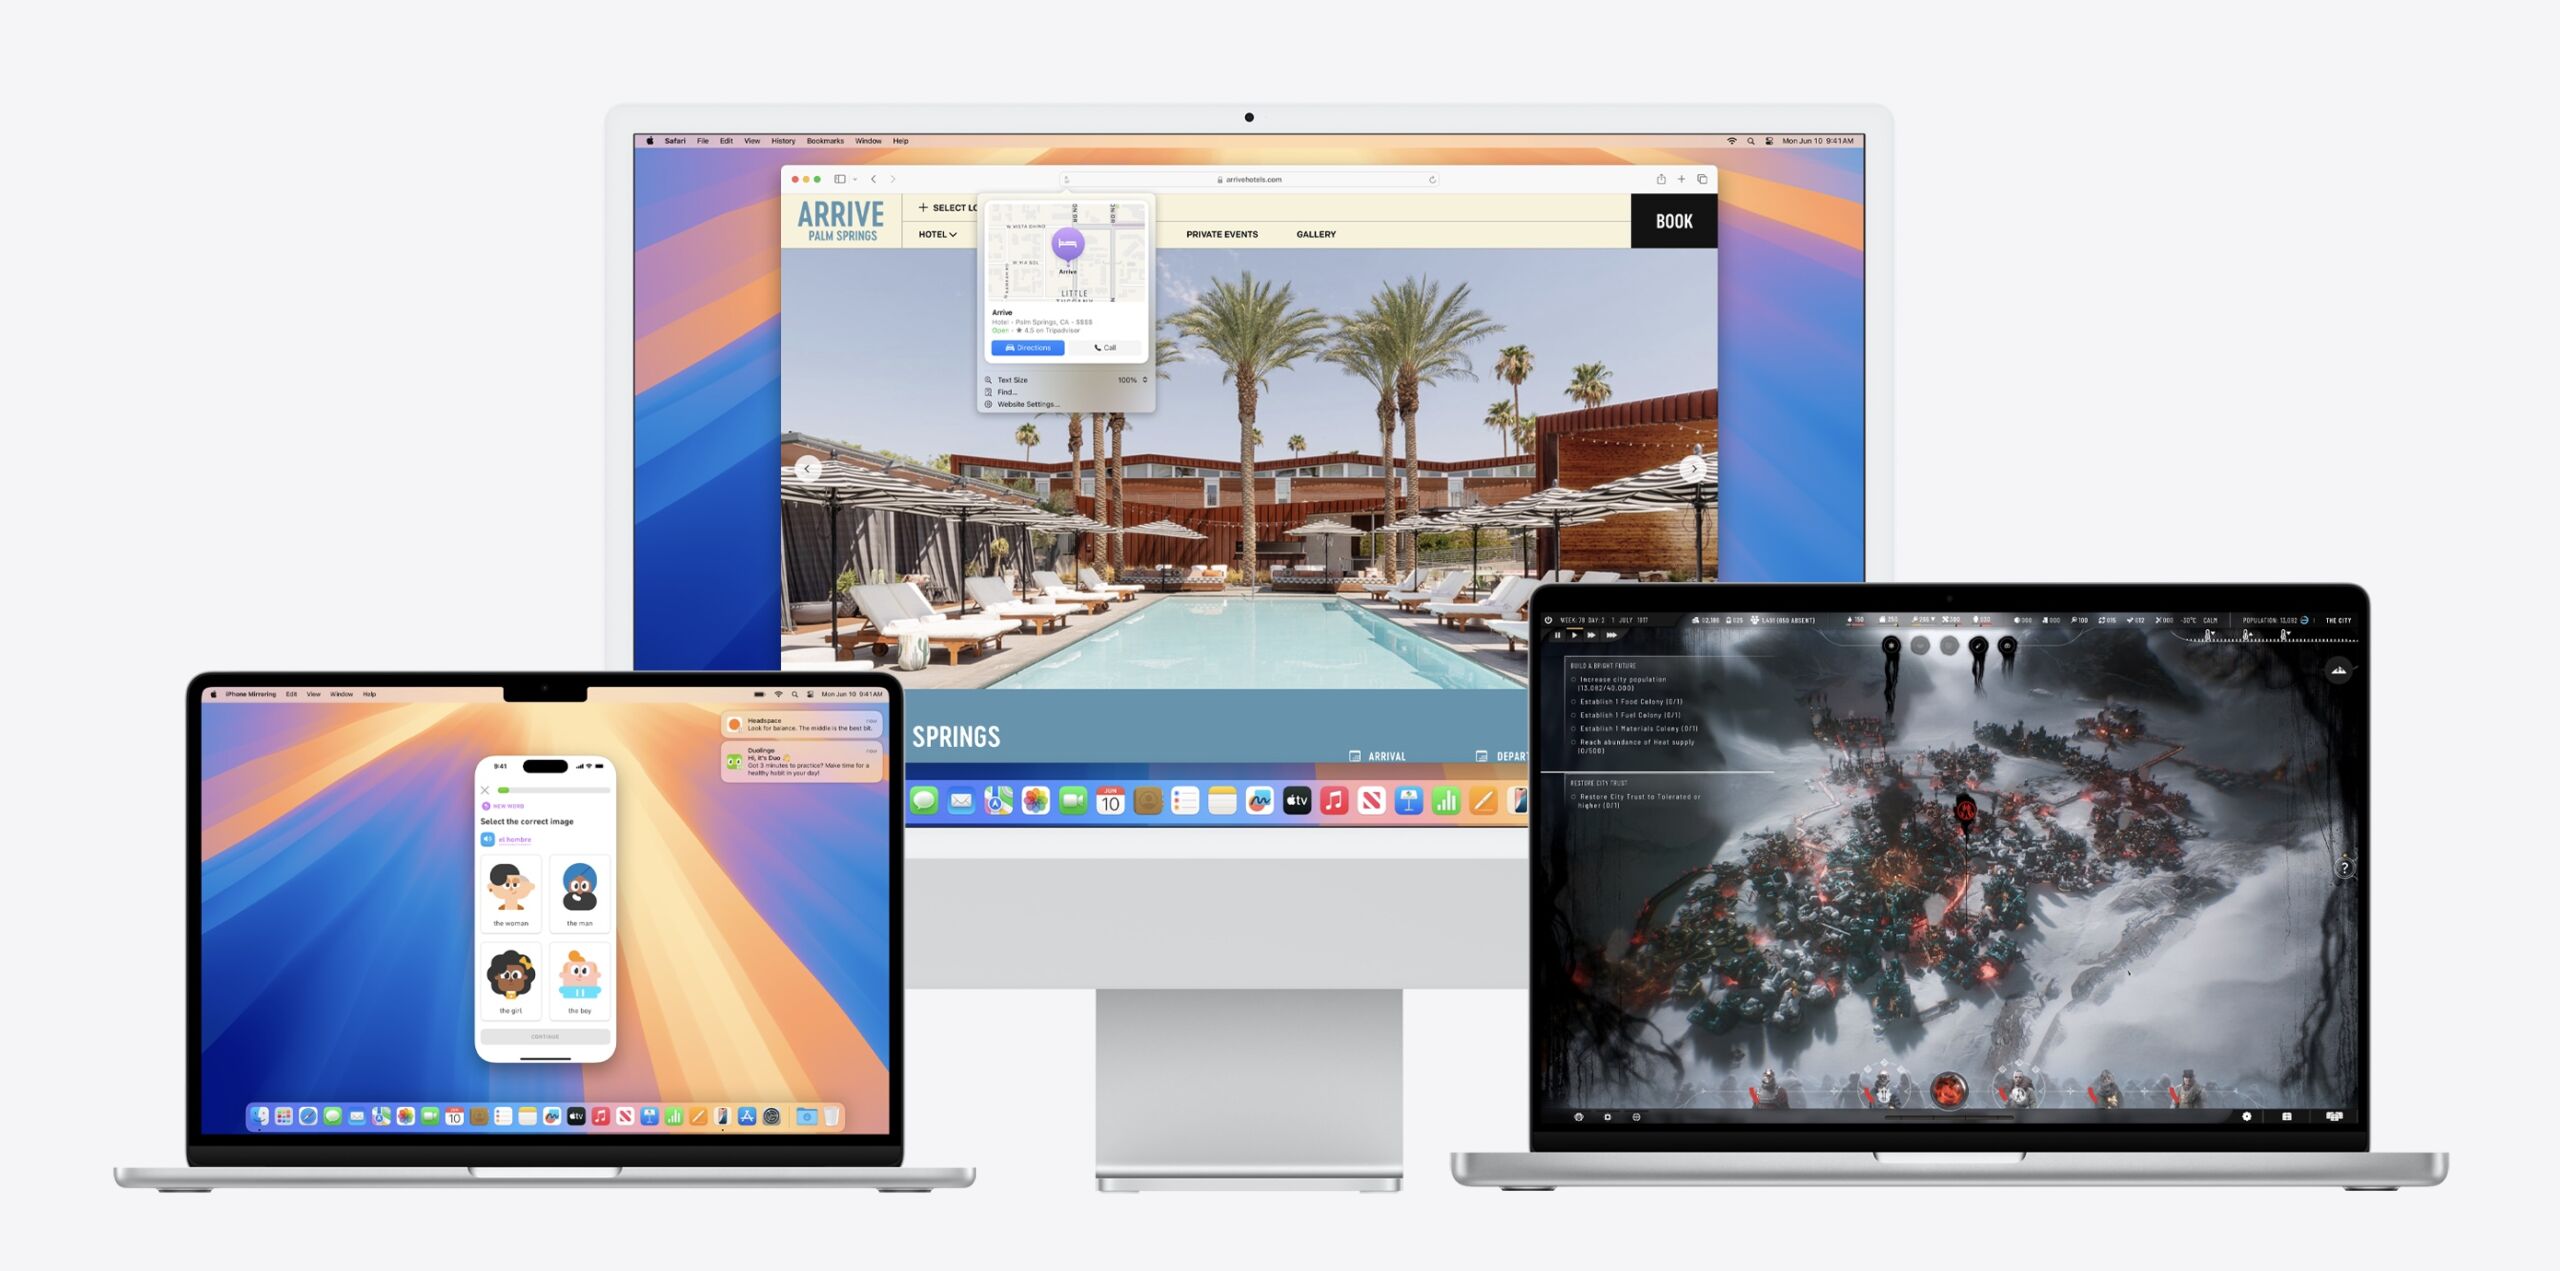
Enlarge/ Macs running a preview build of macOS 15 Sequoia. (credit: Apple)
We’ve written before about Apple’s handy virtualization framework in recent versions of macOS, which allows users of Apple Silicon Macs with sufficient RAM to easily set up macOS and Linux virtual machines using a number of lightweight third-party apps. This is useful for anyone who needs to test software in multiple macOS versions but doesn’t own a fleet of Mac hardware or multiple boot partitions. (Intel Macs support the virtualization framework, too, but only for Linux VMs, making it less useful.)
But up until now, you haven’t been able to sign into iCloud using macOS on a VM. This made the feature less useful for developers or users hoping to test iCloud features in macOS, or whose apps rely on some kind of syncing with iCloud, or people who just wanted easy access to their iCloud data from within a VM.
This limitation is going away in macOS 15 Sequoia, according to developer documentation that Apple released yesterday. As long as your host operating system is macOS 15 or newer and your guest operating system is macOS 15 or newer, VMs will now be able to sign into and use iCloud and other Apple ID-related services just as they would when running directly on the hardware.
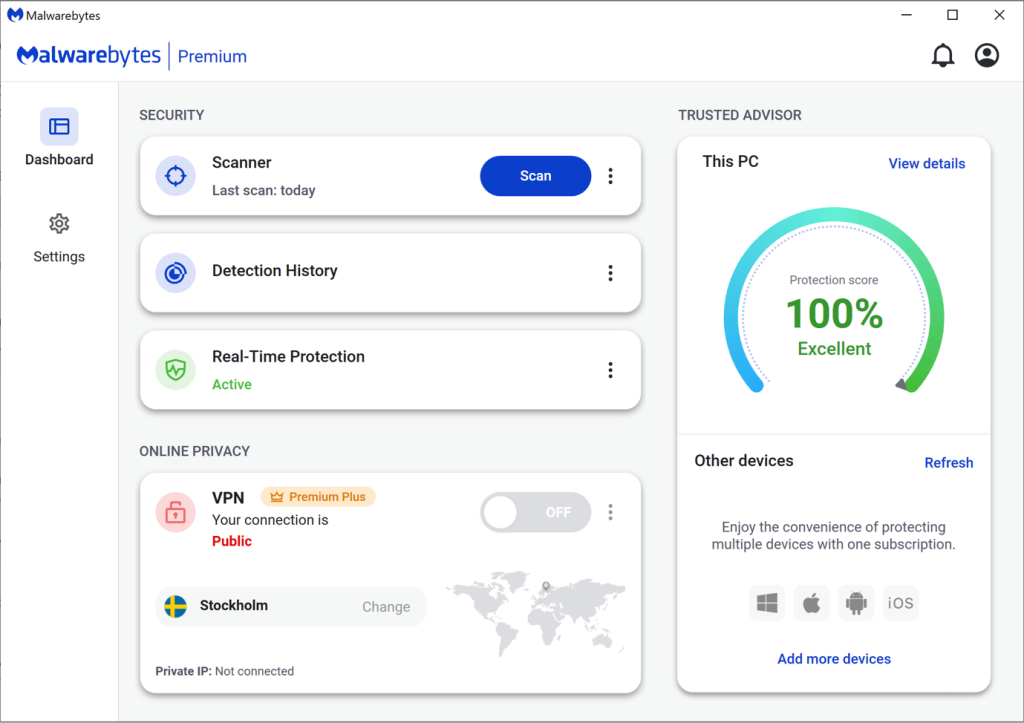
First released for Windows last year, the Malwarebytes Trusted Advisor dashboard is also now available on Mac, iOS and Android.
Our Trusted Advisor dashboard provides an easy-to-understand assessment of your device’s security, with a single comprehensive protection score, and clear, expert-driven advice.
So, though the fears are big, they are followed by very little action. We want to make things easy for our customers so they know what they should be doing, and how.
Computer security can be difficult and time consuming, especially if you consider all the different devices and operating systems. We want to help our customers, whatever they use.
Getting it right means knowing what software needs to be updated, whether your system settings are configured securely, and running active protection that can uncover hidden threats.
Getting it wrong means leaving gaps in your defences that malware, criminal hackers, and other online threats can sneak through.
Trusted Advisor takes away the guesswork by delivering a holistic assessment of your security and privacy in a way that’s easy to understand, making issues simple to correct. It combines the proven capabilities of Malwarebytes with the knowledge of the brightest industry experts to give you an expert assessment that puts you one step ahead of the cybercrooks.
Protection score
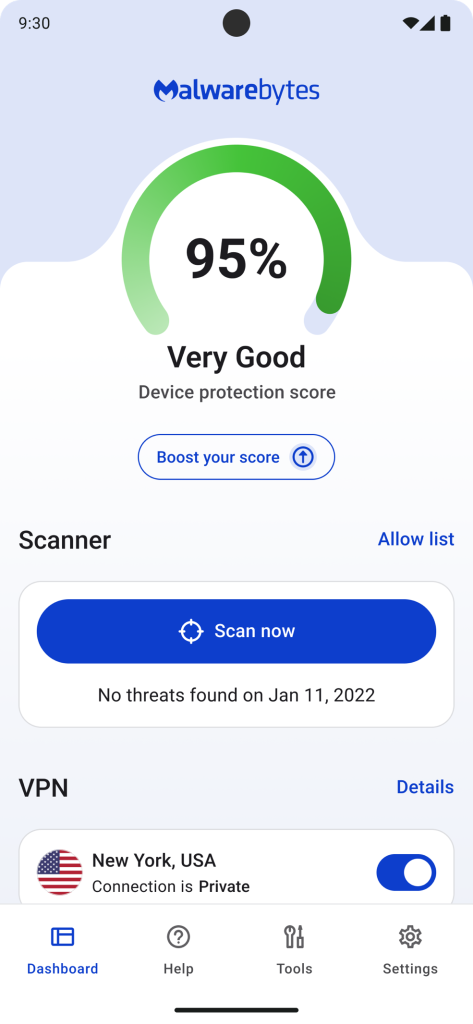
At the heart of Trusted Advisor is a single, easy-to-understand protection score. If you’re rocking a 100% rating then you know you’re crushing it.
If your score dips below 100%, we’ll explain why, and offer you a checklist of items to improve your security and boost your score.
Trusted Advisor’s recommendations are practical and jargon-free, so they’re easy to action.
Trusted Advisor monitors various categories of information around security and privacy to assess your overall Protection Score (exact check points will depend on OS and license type):
Real-time protection monitors your device continuously, stopping and removing threats like malware as they appear. It’s vital for keeping you safe from the most destructive threats and the most common methods of infection, so Trusted Advisor will alert you if you aren’t fully protected.
Software updates fix the coding flaws that cybercriminals exploit to steal data or put malware on your system. Staying up to date is one of the most important things you can do for your security, so Trusted Advisor has your back here too.
General settings covers settings within Malwarebytes, Operating Systems, or your network preferences. Trusted Advisor checks for settings that may not be configured correctly. For example, on iOS it ensures you have defined a passcode for your device and activated web and call protection.
Device scans are routine scans that seek out hidden threats on your system. Trusted Advisor will tell you if you get behind and need to run a scan manually.
Online privacy helps you take a proactive stance on your privacy by hiding your IP address and blocking third-party ad trackers, making you’re harder to track on the web. Trusted Advisor monitors this so you only part with the personal information you intend to.
Device health guards against slowdowns and other performance problems. Trusted Advisor helps you get the most out of your system so that you aren’t left guessing whether it was malware grinding your device to a halt.
Even with an excellent score, you can’t guarantee absolute safety, though it places you in the closest proximity to it. By following our recommendations, you’ll be in the best security situation you can be.
Try it today
If you’re an existing Malwarebytes customer you will get Trusted Advisor automatically, but if you’re in a hurry, you can go to Settings > About > Check for updates and get it right now. If you aren’t, you can get Trusted Advisor by downloading the latest version of Malwarebytes.
Backing up your Mac computer doesn’t need to be intimidating.
By taking advantage of a user-friendly feature released by Apple several years ago, the entire backup process can be handled almost automatically, preserving your most important files, photos, applications, and emails from cyberthreats and mishaps.
Before starting the backup process, you willneed an external storage device that can connect to your Mac with a USB or Thunderbolt cable. External storage devices, which are sometimes called external hard drives, are developed and sold by many different companies, including Lacie, SanDisk, and Western Digital.
If you do not have an external storage device, you must first get one. You should also follow Apple’s recommendation that your external storage device be twice as large as the hard drive of your Mac computer.
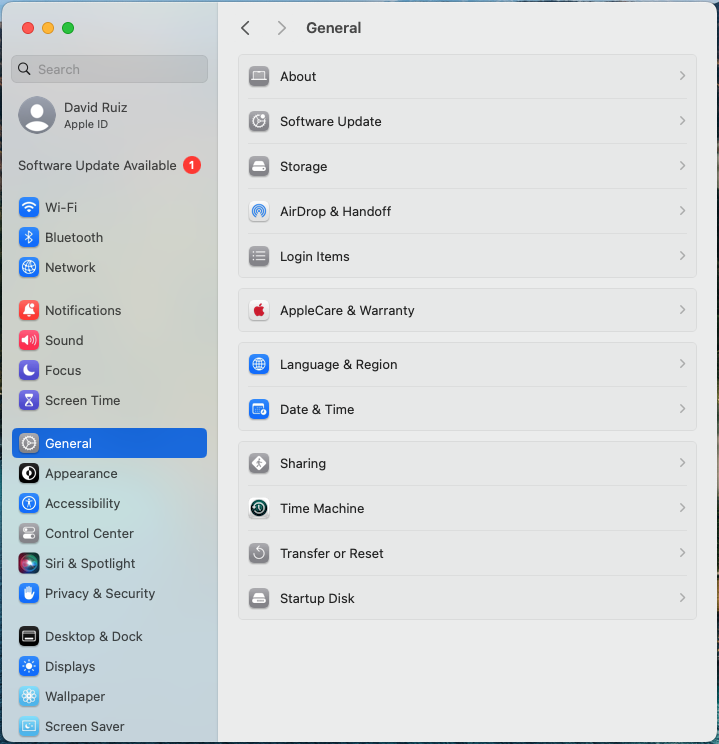
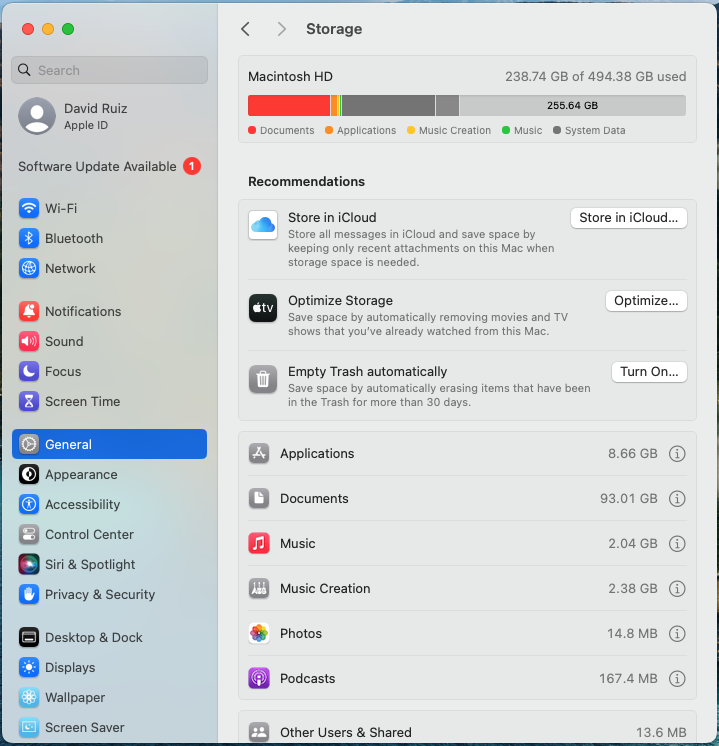
To find the hard drive size of your current Mac, open the System Settings app on your computer. On the left-hand rail, click General and then, in the window open to the right, click Storage.
Several statistics and options will be shown.
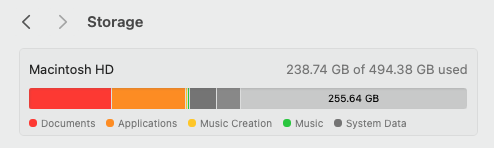
At the top of the Storage section, the hard drive space is shown. Here, it is 494.38 GB, or 500 GB roughly.
The Mac shown here has 500 GB of internal storage. If we were to back this Mac up, we would need to use an external storage device of 1 TB (terabyte).
Once you have your external storage device, you can begin the actual backup processs.
The simplest way to back up your Mac is with the built-in feature “Time Machine.”
First, connect your external storage device to your Mac.
Then, you need to set up that storage device as your “backup disk.” This means that, from this point forward, your external storage device will have one primary use, and that is as a backup device that syncs with Time Machine. Apple recommends that you donot use your external storage device that you are using with Time Machine for anything other than Time Machine backups.
To set up your storage device as your backup disk, follow these instructions:
Go to System Settings.
Click on General in the left sidebar.
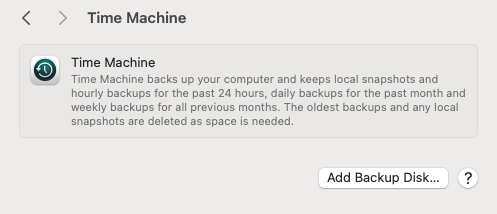
From here, click on Time Machine in the main window displayed to the right.
From the Time Machine menu, click Add Backup Disk or click the “Add” button (+).
From here, select your external storage device and then click Set Up Disk.
At this point in the process, you may receive two options from Time Machine:
If your device has other files on it, you will be asked if you want to erase the device so that it can be used solely as a backup with Time Machine. You can erase the files immediately and then continue the backup process through Time Machine. If you do not want to erase the files, you need to get a separate external storage device that will be used exclusively as a backup with Time Machine.
If your external storage device already has backups from a prior computer, you will be asked whether you can to keep those backups and roll them into new backups made with Time Machine. This is up to you.
From here, the backup process is nearly done.
To make a backup, simply click on Back Up Now from the Time Machine menu.
Your first backup could take a long time to complete, but know that you can continue using your computer like normal while the process happens in the background.
From here on, whenever you attach your external storage device to your Mac, Time Machine will automatically ask to make a backup of the changes to your Mac. You can also change the frequency of your backups in your Time Machine Settings.
They say the only backup you ever regret is the one you didn’t make. iPhone backups can be used to easily move your apps and data to a new phone, to recover things you’ve lost, or to fix things that have failed.
One of the most cost effective ways to backup your iPhone is to save backups to your Mac. Backups are made automatically whenever you connect your iPhone to your Mac with a lead. Be aware though that backups can take up a lot of space on your Mac, and that if your Mac is lost, stolen, or inoperable, then you won’t be able to access your iPhone backups. If you need daily backups or backups that can always be accessed from anywhere, you may prefer to backup your iPhone to iCloud.
This guide tells you how to enable backups to your Mac, and how to check that everything is working as you expect.
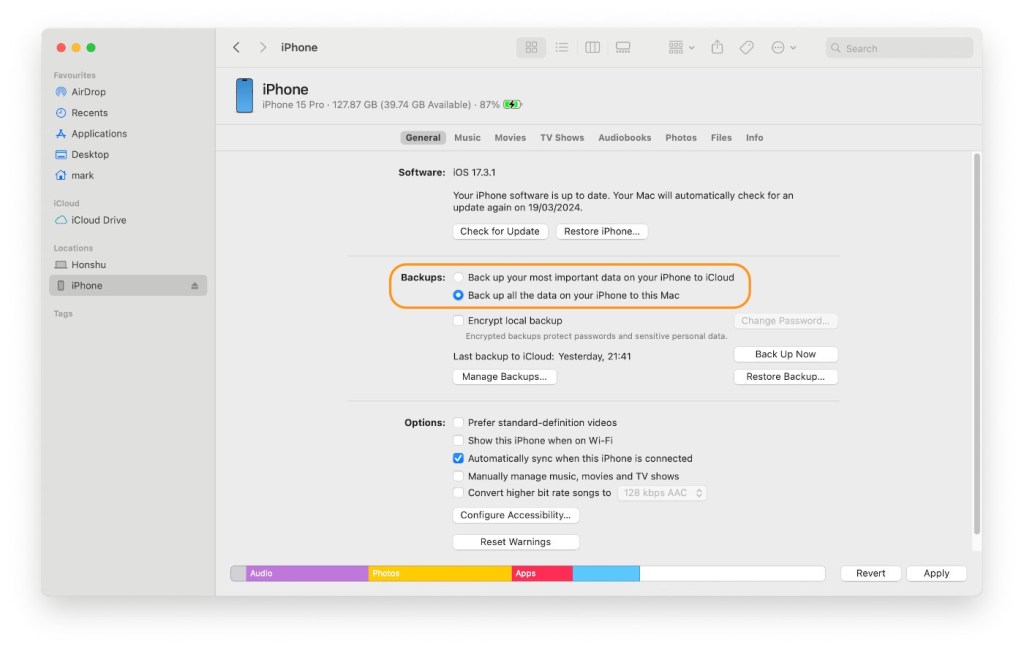
First, connect your iPhone or iPad to a Mac using a cable.
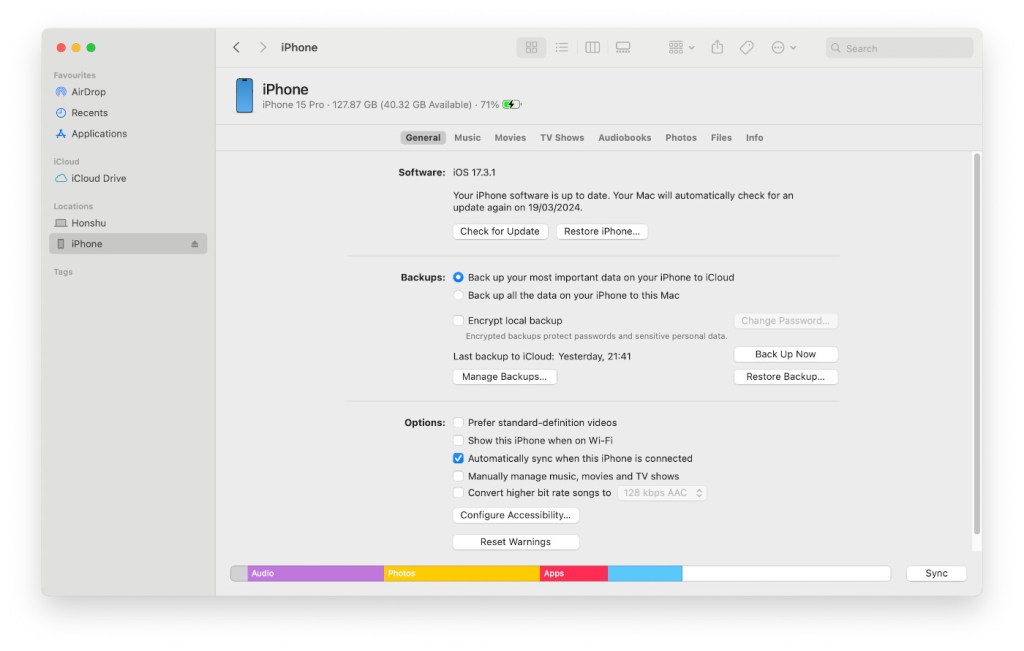
Open the Finder app and select your iPhone from the list of Locations.
Click General.
Under Backups, choose Back up all of the data on your iPhone to this Mac.
To encrypt your backup data and protect it with a password, select Encrypt local backup. You will be prompted for a password.
Click Back Up Now.
We don’t just report on phone security—we provide it
Our business solutions remove all remnants of ransomware and prevent you from getting reinfected. Want to learn more about how we can help protect your business? Get a free trial below.


